For my first blog post, I want to introduce you to one of the most important tools for development. Anyone who writes code - which is pretty much everyone nowadays - should know how to use Git. I can’t emphasize enough how useful it is, and that is why I chose it as my first topic.
Git is a way to do version control, i.e. go back and forth between versions of a project. Back in 2012, people used many different version control systems. I tried Subversion and Mercurial but pretty much everyone is in the Git boat now. There’s a bunch of reasons why Git won out. For me, it made working in a team much better. Git is great at handling large projects but what I want to show is that Git helps for even the smallest individual projects.
It helps that everyone has a general knowledge about Git, but I recommend that for each team, you assign a Git expert. There is a lot to know about Git. Instead of everyone learning everything, having one or two people to answer quick questions is good for teams.
The Main Idea
On the Git documentation, it says that Git thinks about its data like a stream of snapshots. So let’s say you have a project and you want to make a change but you also want a backup, so you copy the folder and name it “backup”. Each copy is like a snapshot in Git! But most of the files are the same, so Git doesn’t duplicate everything. Instead, it makes a link to the unchanged file. Git then hashes the contents into something like
880861822d12b61df5ad72ed2117886c679384c8
That is the name of the snapshot and it also works like added security since any corrupted data would produce an incorrect hash.
So I mentioned that Git keeps a bunch of copies and only stores differences. This leads to two very important caveats about Git:
- Git is additive. You are not supposed to be able to remove a particular snapshot (you can but you’re not supposed to). This means you should not have any secrets in the project (like passwords or keys). I’ve found passwords to databases and servers because people left it in the Git history. Do not add secrets to Git.
- Git differences are line by line. If you change one line, Git only saves that one line of change. But this makes it difficult to track changes in binary files, e.g. .jpg, .mp3, .pdf. If you make a small change to an image or pdf, it changes the whole file. Git has trouble tracking these changes so avoid adding these kinds of files to Git.
So what do I mean by adding to git? It’s time to learn some Git terminology. Snapshots are known as commits. To prepare a commit, we add it to the staging area or the index. Once we are all ready, we commit it to the repository. So we can imagine our project in 3 sections.
- Local - where we make changes
- Staging area/Index - where we add changes ready to commit
- Repository - where commits are stored
So let’s get started!
Install
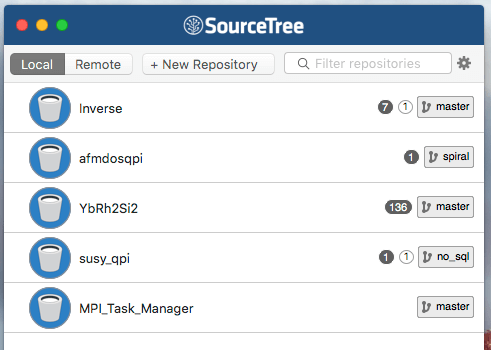
I wish I could just teach command line Git but then pretty much 90% of people would quit right here. So instead I will teach how to use my recommended software for Git and append the command line version for each step. The problem about Git software is that each software has a particular workflow. I recommend SourceTree because it works for both Windows and Mac and uses “Git-flow”.
The current official instructions to install Git are listed below.
- Windows
http://git-scm.com/download/win
- Mac
git- Fedora
sudo yum install git-all- Debian
sudo apt-get install git-allConfig
SourceTree will ask for your name and e-mail. Git has author metadata for each commit so it is important to fill in your information. On command line:
git config --global user.name "Eric Mascot"
git config --global user.email "emasco2@uic.edu"
git config --list
Init
Let’s turn a project into a Git repo. First, create a local repository
and select the folder
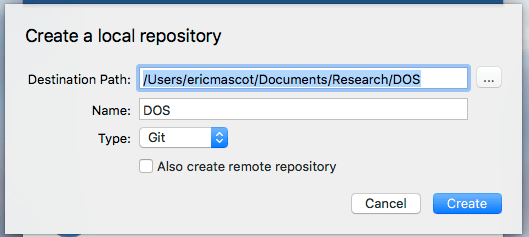
and now you have an empty repository
cd /Users/ericmascot/Documents/Research/DOS
git init
git status
.gitignore
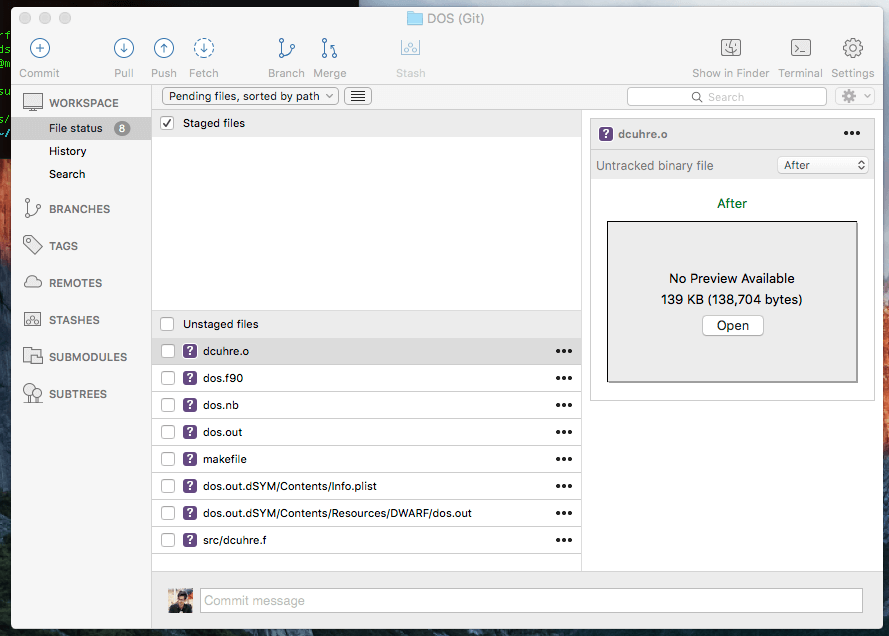
In my project, I have a bunch of files I don’t want to keep track of. The object files, the debug files, the executable - these are all files I don’t need. We can add these to the list of files we want Git to ignore. This file is named “.gitignore” and is in the root directory of the project.
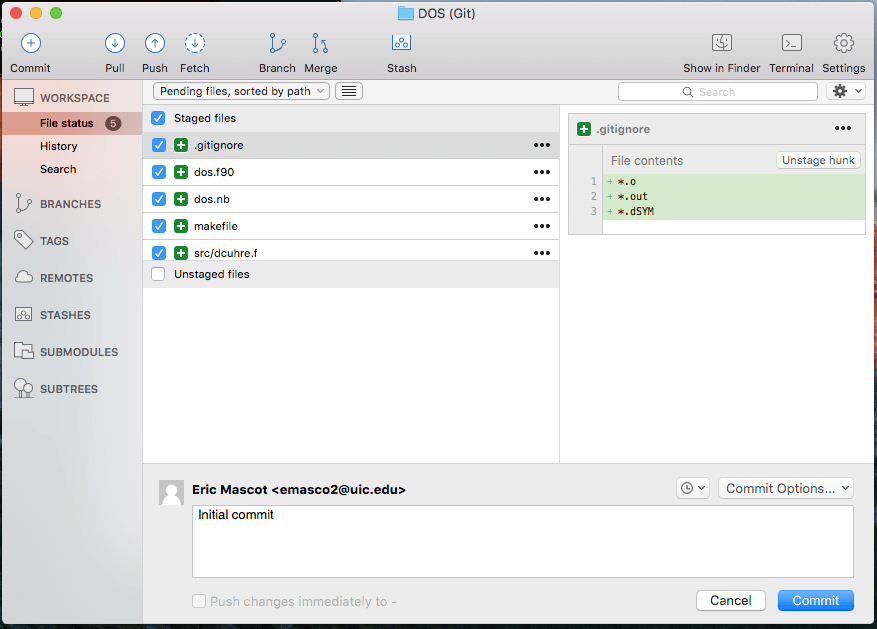
Let’s create a .gitignore
*.o
*.out
*.dSYM
Now those files don’t appear in the unstaged files! Check this collection of templates for .gitignore files.
Add and Commit
Let’s add all the other files to the index and commit.
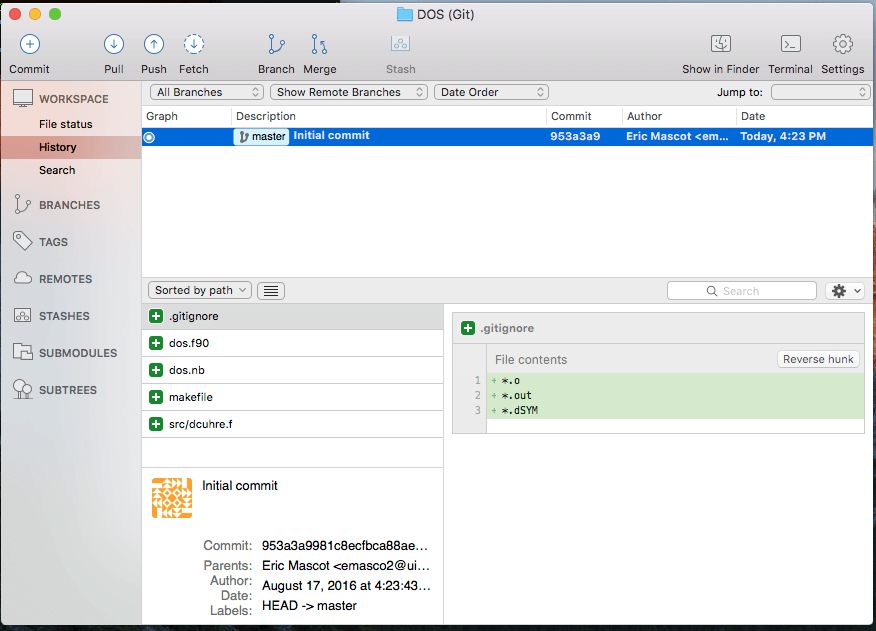
 We just created the first snapshot of our project
git add .
git commit -m "Initial commit"
Log
Now we can take a look at the “stream of snapshots” in “History”
git log -pStatus and Diff
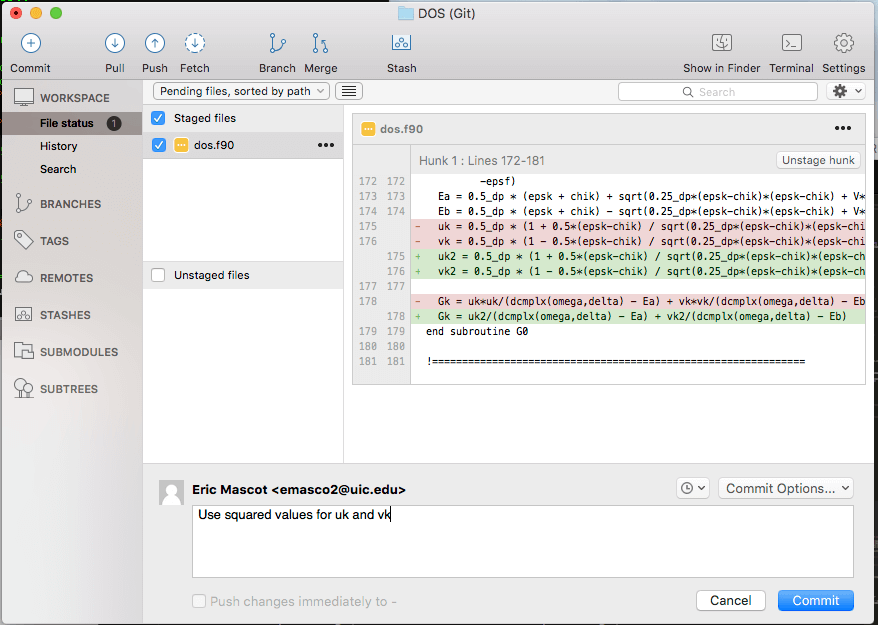
In “File status” we can see which files were modified, and see the changes in each file. What is nice is we can choose individual lines to commit from this view by clicking “Stage hunk” in the top right
git status
git diff
Reset
When you modify a file but decide you want to go back to the last commit you can just right-click and reset
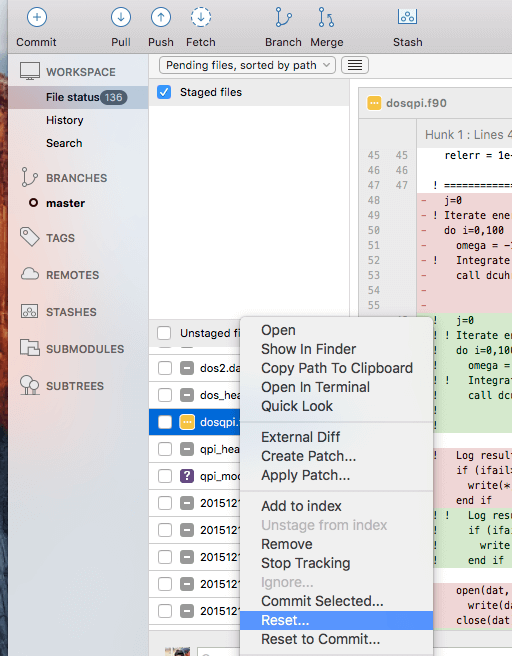
git checkout -- dosqpi.f90Note: You are permanently deleting these changes by doing this
Checkout
So if we continue on in this fashion and have a few more commits, how can I go back in time to another commit? Just double-click the commit and it will checkout to that commit!
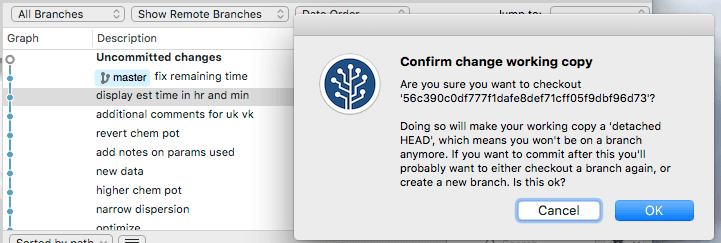
For command line, you don’t have to type the whole hash. The first 6 characters are usually enough.
git checkout 56c390Note: if you want to make edits from here, you should make a new branch
To go back
git checkout masterStash
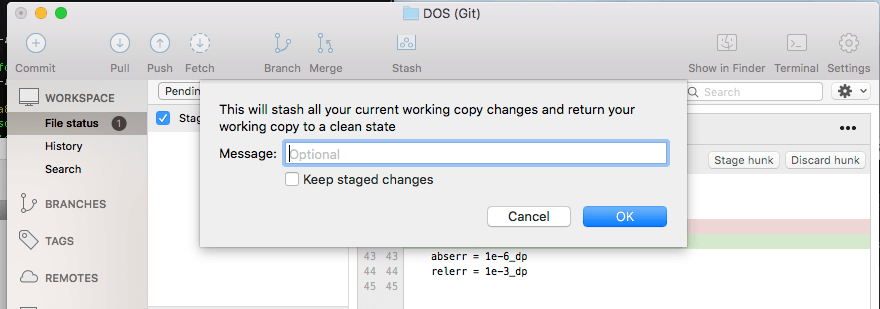
Now let’s say we’ve made some changes but want to temporarily hide those changes. We can stash the changes and “pop” the stash when we want those changes back. I like this feature to do quick benchmarking, i.e. compare two versions quickly. Stashing will become even more important when we learn merging.
Stash changes by clicking the Stash icon in the middle of the top menu bar
Pop stash by clicking on the stash in the left sidebar
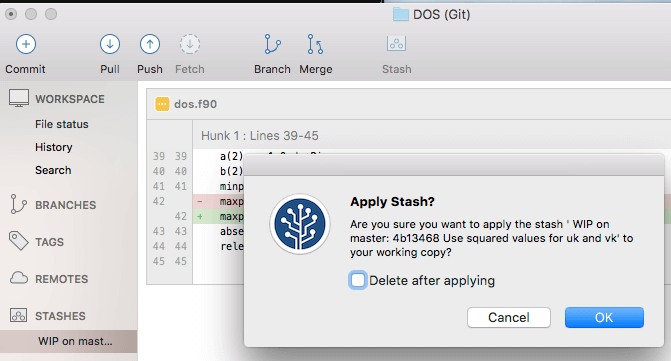
git stash
git stash pop
Tag
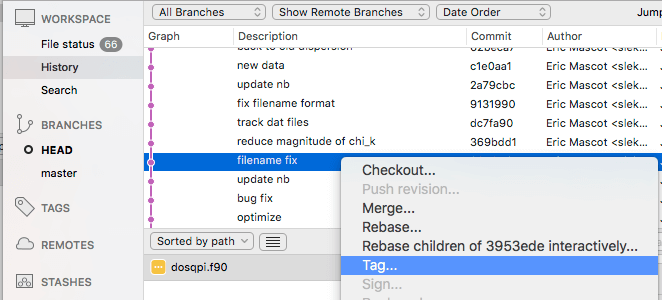
Git has a feature to tag a commit. This is a good way to give a name to an important commit such as “v1.0”. That way, when you share results and get asked a question about those results, you can quickly return to the state of the code to when those results were produced.
Right click commit to tag
Jump to tag by clicking the top right menu
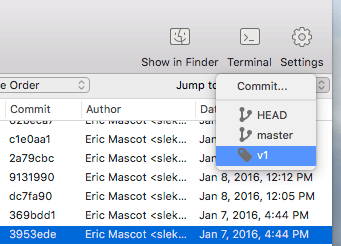
git tag -a v1.0 3953ede
git checkout v1.0
Branch
This is where I think the real magic of Git is. Let’s say we need to diverge into two directions. We do that by branching. We can later combine branches by merging. There are many strategies for branching. The one I recommend is the Git-flow I mentioned before, but since it’s so fast and so easy to branch, you can branch however you’d like.
Create a new branch by clicking “Branch” in the top menu
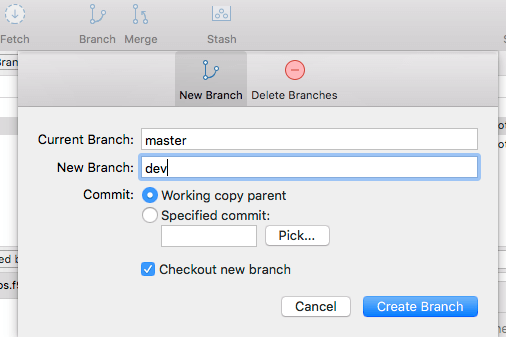
You can switch branches by double clicking the branch in the left sidebar

git branch dev
git checkout dev
git checkout master
Merge
When you make some commits on the new branch and you’re ready to merge them into the master branch, switch to the master branch and click “Merge” in the top menu and select the commit to merge
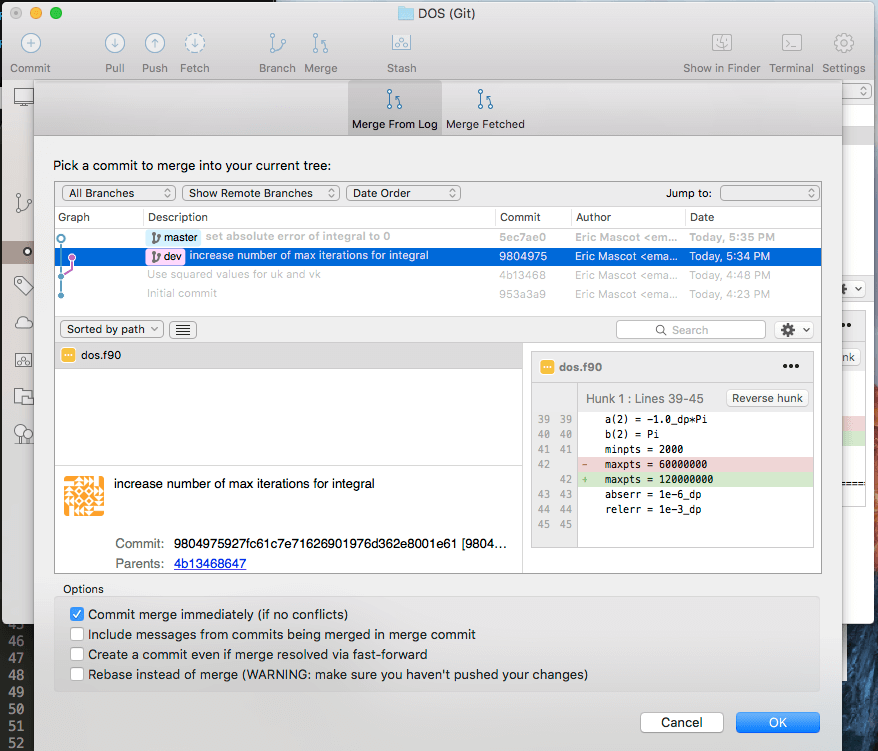
git checkout master
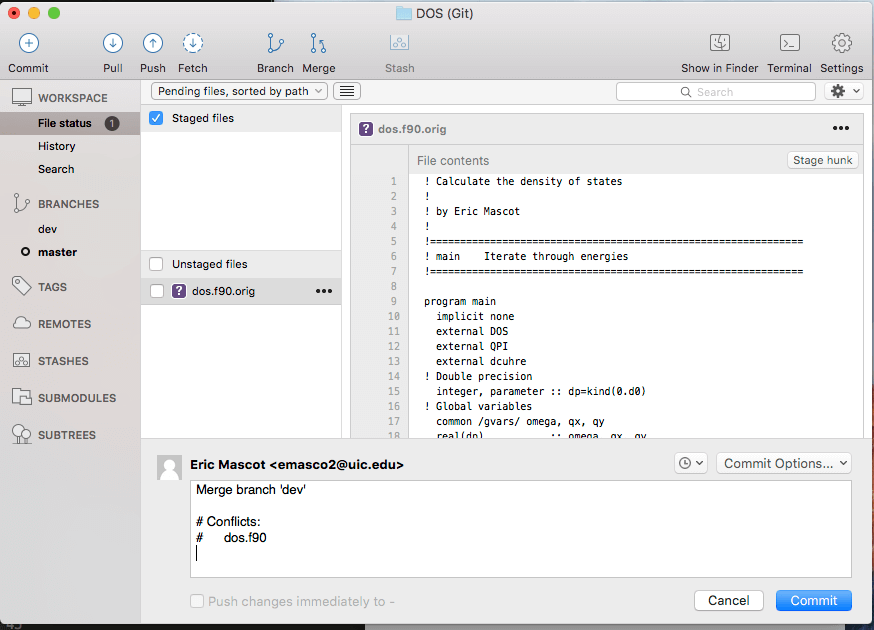
git merge devMerge Conflicts
Sometimes, merging doesn’t go too well. There are changes in both branches and Git doesn’t know how to automatically combine the two. We have to manually fix these. I like to go directly into the file and edit it myself, but Git comes with a merge tool.
Right click the file with conflicts and launch merge tool
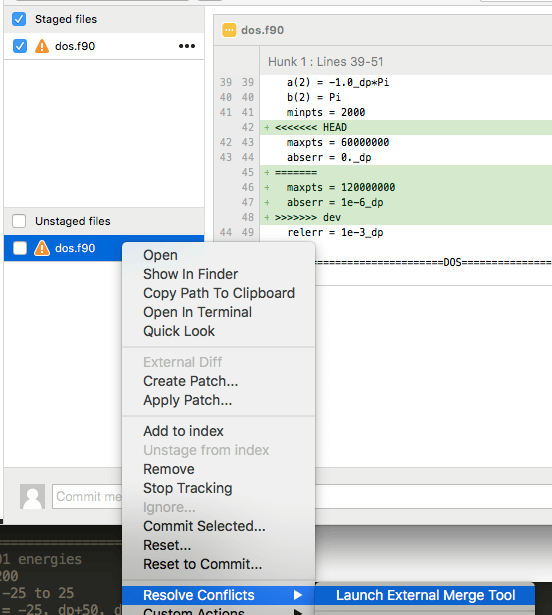
Here you can choose to use the left version, right version, both, or neither
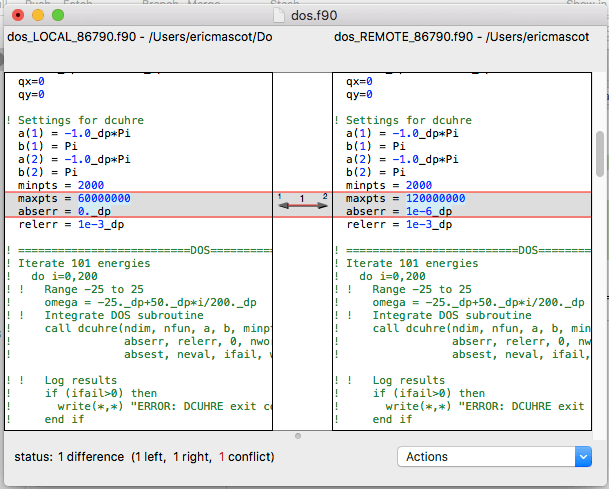
Once you’re done, save and commit
This is where a lot of people who are new to Git have the most trouble. It is tedious but you have to go through each line and figure out how to correctly merge. It is easy to mess up a merge and create bugs. That is why I recommend editing the file directly since you’re less prone to lazy merging.
Conclusion
These are the basic tools needed for Git. I only included local version control in this post and it is already pretty long. There are many more features but I recommend mastering these tools first before learning the next set of features. I have been using Git for almost 4 years now and I still haven’t mastered Git. In a future post, I will go over collaborating using Git. That will go over the 3 other buttons in the top menu, pull, push, and fetch and more. If you want to learn more, check out github and the git documentation.